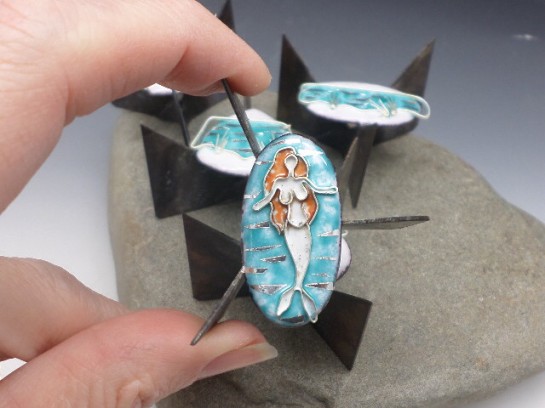
You may remember a little while back that I was playing with heat rivets and gemstones. I called them ‘Pinned Pretties.‘ Thanks to a visit from my muse over the weekend they have evolved, becoming a bit more elaborate than their former cousins. I was working on forging the paddles for the sides, allowing my mind to wander over various facets of the past few days when suddenly I realized that I had made a mistake. Argh! Not being mindful, I had forged it on each end in opposite directions instead of in the same direction making it flat with paddles on both ends. I grumbled, threw it aside and started over with another piece of silver resolving to stay present so I didn’t repeat the same mistake. The piece progressed, I had pinned the stone in and was ready to close off the top when I glanced back at my discarded orphan – and I began to wonder… could they be married for a bit of a different look? I liked the idea, so I began to explore. Yes, they could be married but then what? And then more ideas flooded me. Perhaps a cupped piece of silver – pinned to a bar? A long bar! With smaller cups pinned on either side? YES! And so, a new direction was born for my pinned pretties…
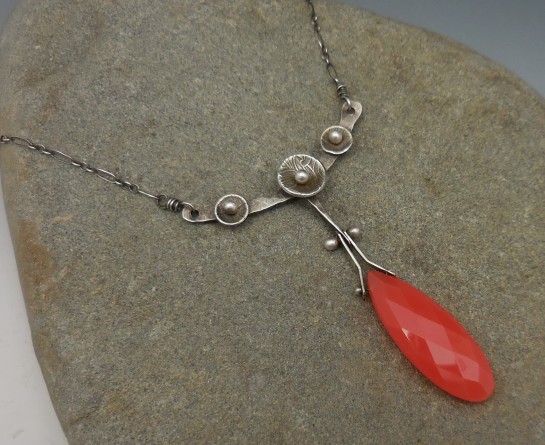
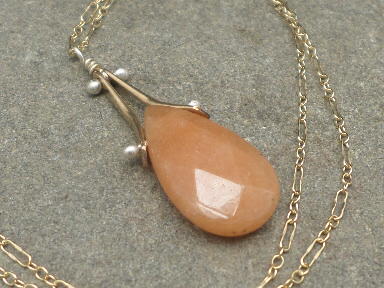
I used a beautiful, bright AAA quality piece of orange carnelian and oxidized it when I was done. I loved it! I found myself totally energized and eager to make more. So I did, of course. Find this necklace in my Etsy shop HERE.
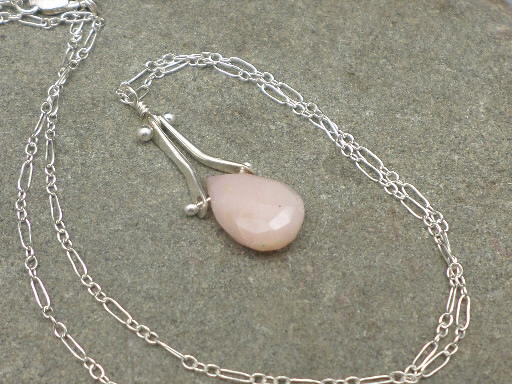
I decided though I loved the look of the full silver I wanted to know what it would look like with mixed metals too, so I broke out the pink gold and the yellow gold and gave it a go. First, I mixed pale green phrenite with rose gold and silver.
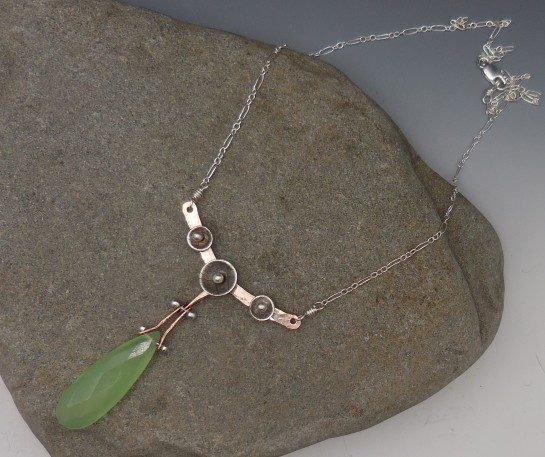
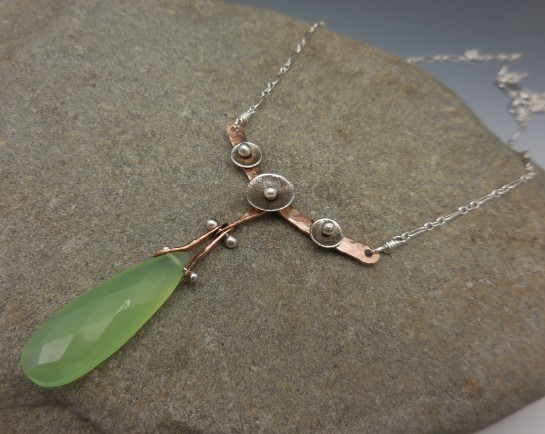
I found the combination pleasing. It seemed both warm and cool at the same time with a soft edge to it. Find this listing in my etsy shop HERE.
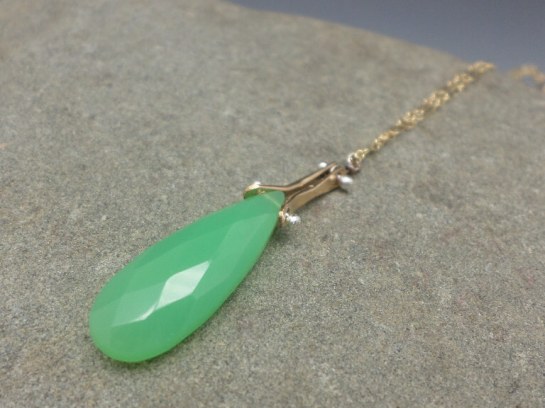
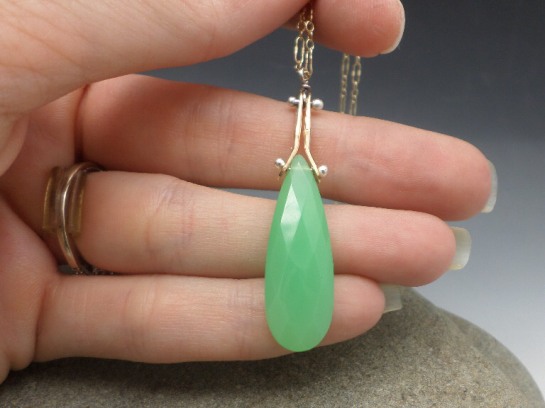
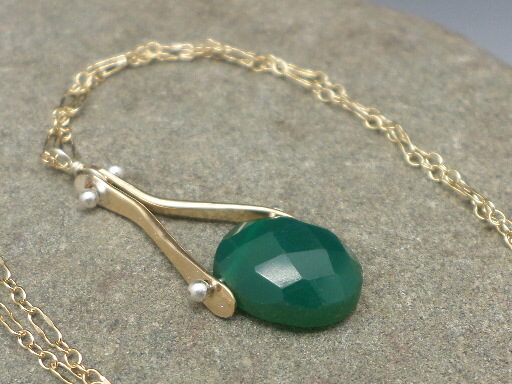
Next, I decided to try chrysoprase combined with yellow gold and sterling silver. This is just super AAA quality chrysoprase. I added a gold chain to this one because I wanted the gold to dominate and for the silver to just be the accent. I will be so sorrowful when my supply of this chrysoprase is exhausted. I bought up all that I could before it was gone.

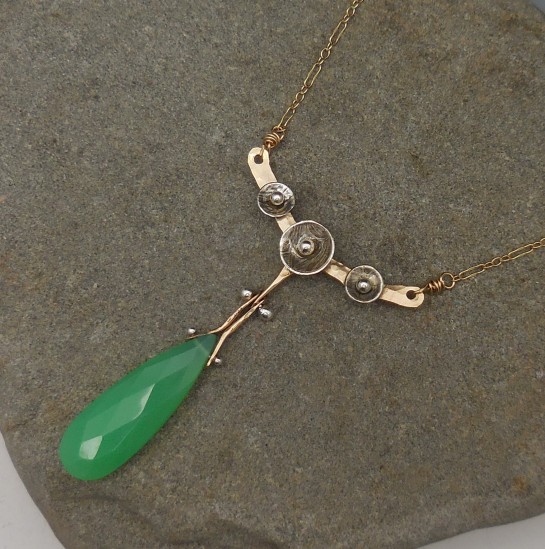
Find the listing for this mixed metal chrysoprase pinned necklace HERE.
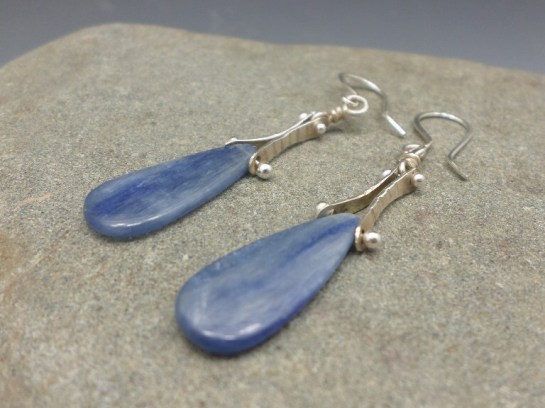
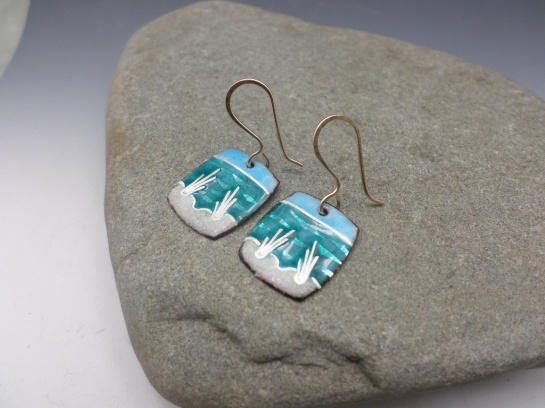
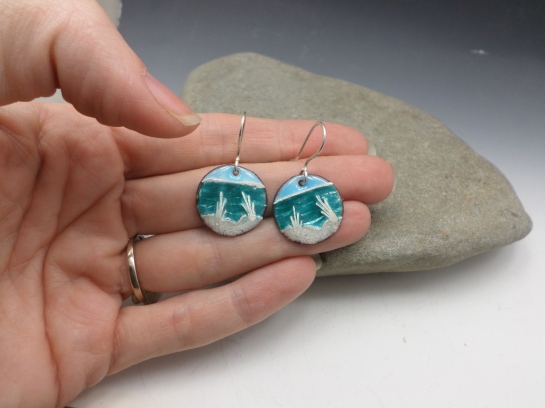
Next I decided that they must have earrings, so I gave decided to try a pair. I did them in all sterling to match the carnelian necklace and I think they rocked. I basically took half of the necklace bar to make the earrings. I only made the sterling pair as my day was coming to an end and the weekdays are dedicated to custom work for the most part. Maybe I’ll find time to squeeze in matching earrings for the other two necklaces at some point this week.
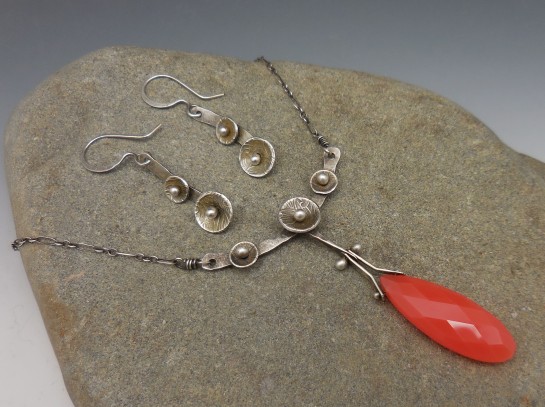
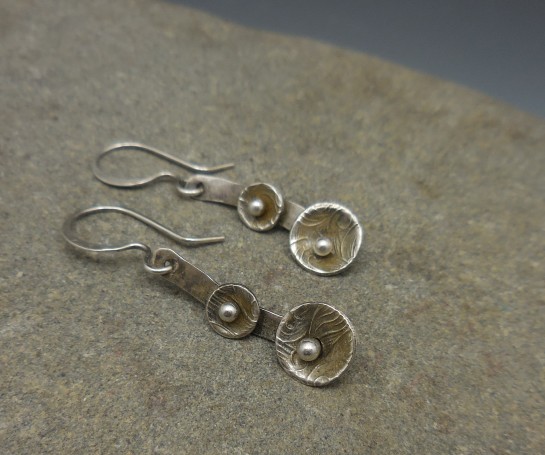
You can find the listing for these earrings in my Etsy shop HERE.
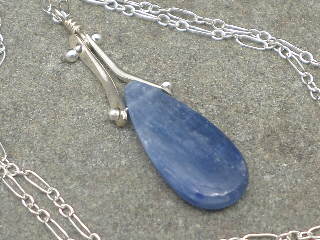
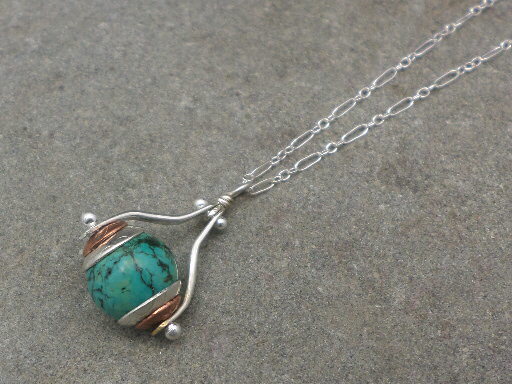
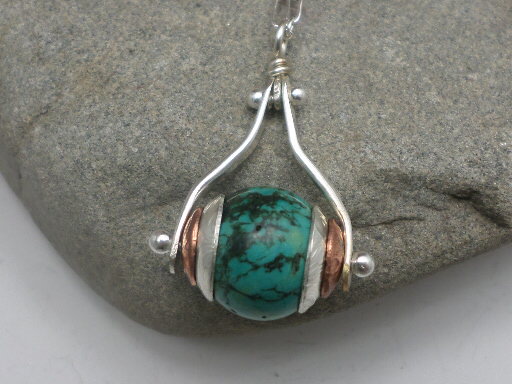
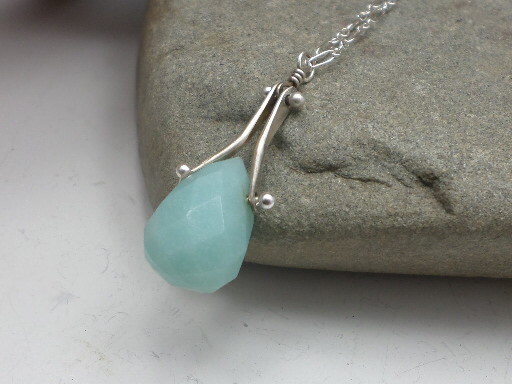
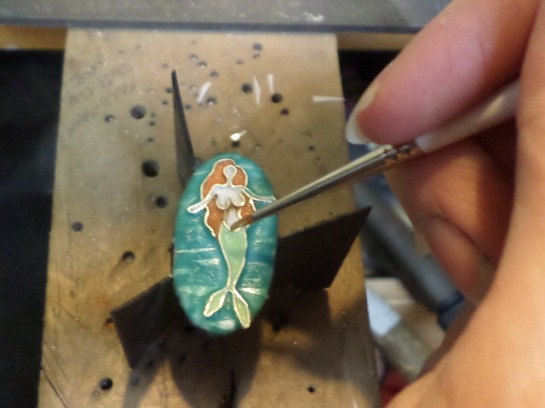
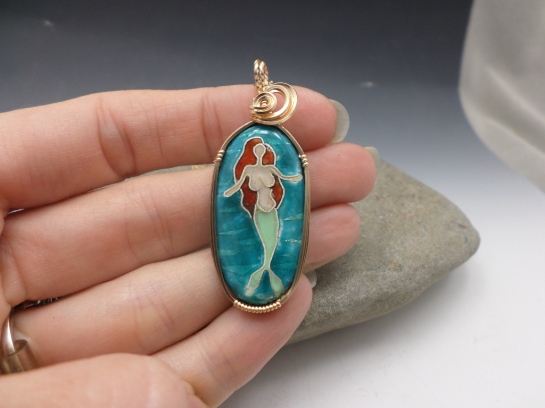
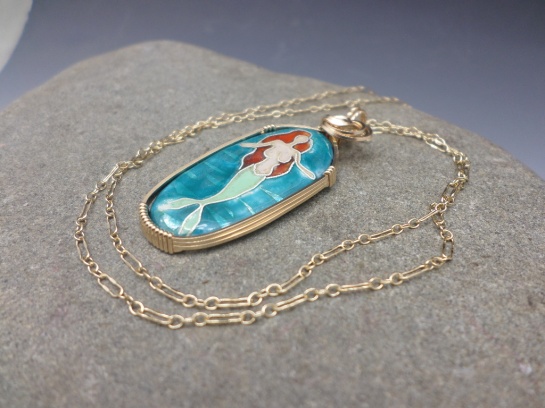
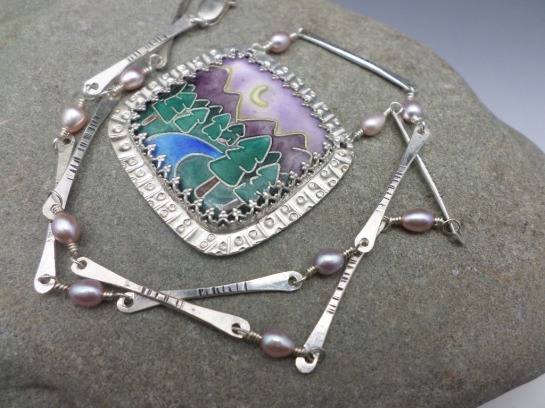
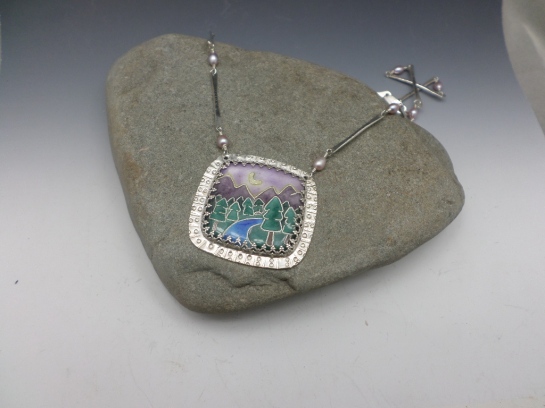
That NEARLY completed my work for the weekend. I took my pretties back to the house with me so I could admire them. I wanted to bask in my sense of satisfaction (sounds silly, I know). As I sat there looking at them I wished I had made one with one of my new turquoise briolettes. I felt a little sad thinking I wouldn’t have time to pull that off later in the week. Eventually I decided to pull the one turquoise that I had pinned last week and just hold it up to the necklaces to see how it would look. Then I had a flash – perhaps I could squeeze in something in between before bedtime? I could just do a quick embellishment on the turquoise I already had pinned. It wouldn’t be as elaborate as the necklaces (not that they’re crazy elaborate really, but in comparison to their first cousins they’re certainly considerably fancier) but I could do it quickly and see how I liked it – and of course, I DID! It’s somewhere in between – like mama bears porridge. 🙂
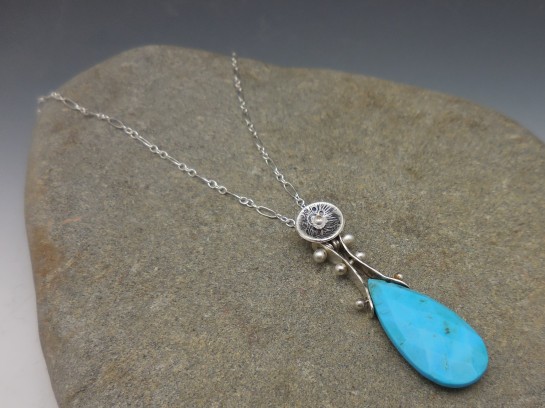
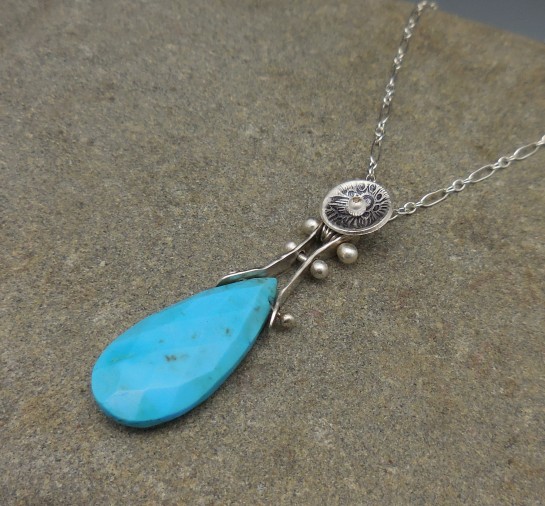
Find the listing for this pinned turquoise necklace in my Etsy shop HERE.
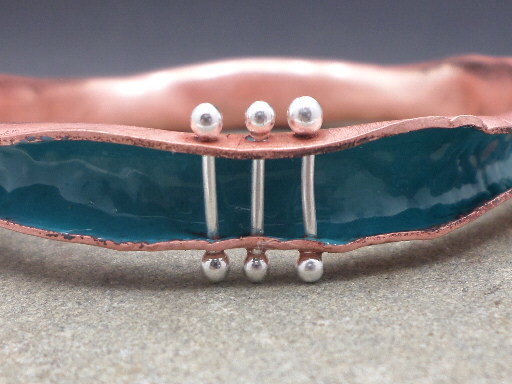
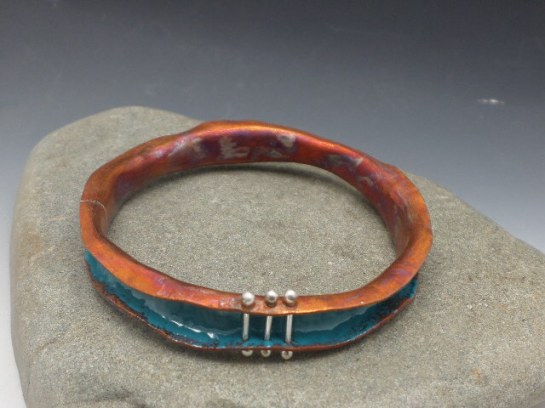
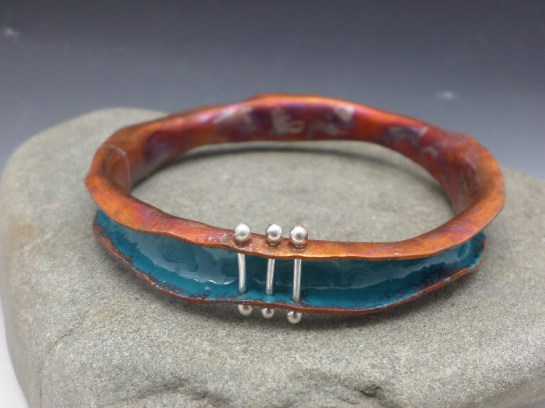
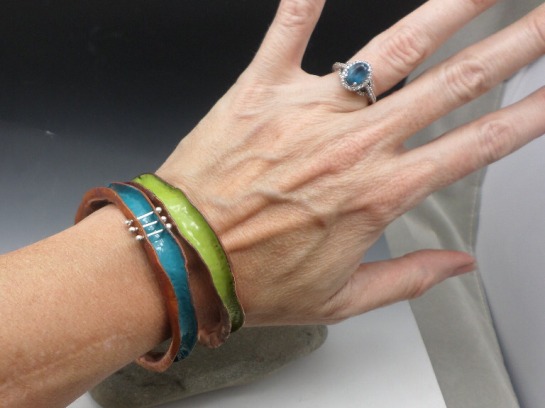
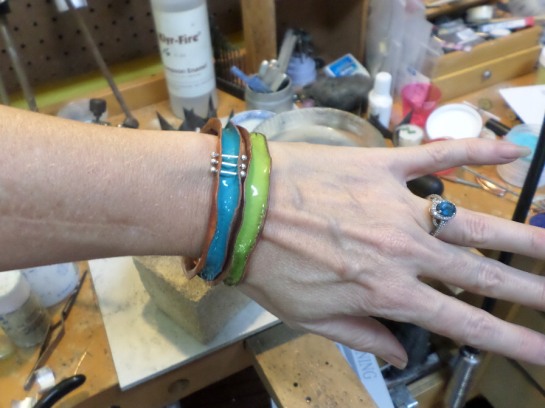
I really enjoyed following my muse this weekend. Now it’s time for me to get back to the grind though. Back to one maddening custom order that I’ve been redoing and redoing and redoing… I want it to be perfect! I can’t wait to show it off when it’s done. I’m finally feeling good about it – no hints! You’ll have to wait to see it. I have six enameled bangles I’m working on, three rings, a dragonfly pendant, a pair of earrings (with posts, different for me) a gemstone bangle, a custom pinned pendant, a pair of pinned earrings…. the list goes on. It’s going to be a busy week!